After six months of using YNAB to guide my budget, uncover my true expenses, and assign my dollars, I am spending intentionally and seeing a little more cash in my bank account each month. This year, I’m saving monthly for expected bi-annual property taxes, a short vacation, and a home owners association special assessment. Some … Continue reading “How I’m Planning for Inflation with YNAB”
How I’m Planning for Inflation with YNAB
Arc Raiders is a design exploration

Tonight I logged on without any gear and explored for the entire session. No weapons, no shield, just a camera.
There Does Not Exist
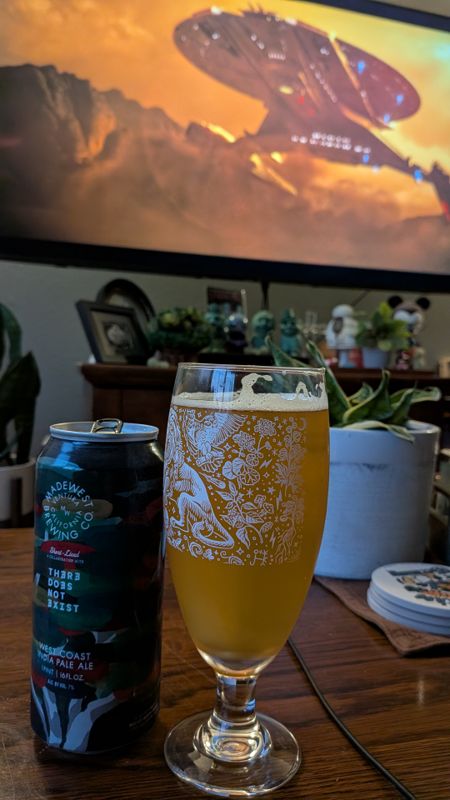
Enjoying a beer by MadeWest while rewatching my favorite Star Trek pilot episode. Discovery season one was truly unique and different only to be dismantled by a fandom menace of toxic haters.